This feature will allow you to create an order. This order will not sync back to your sales channel. You can create an order and print out a shipping label for it.
There are 2 ways to do this – Create Order or Import Order
Create Order #
To create an order, do the following:
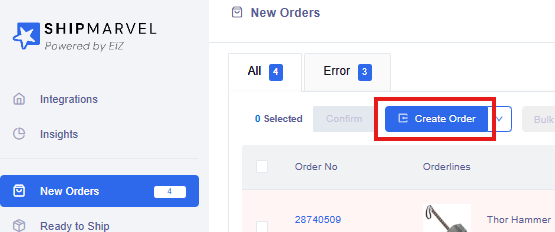
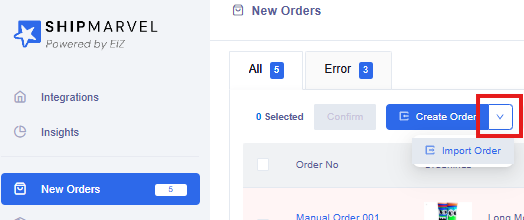
1 – Go to New Orders > click Create Order button
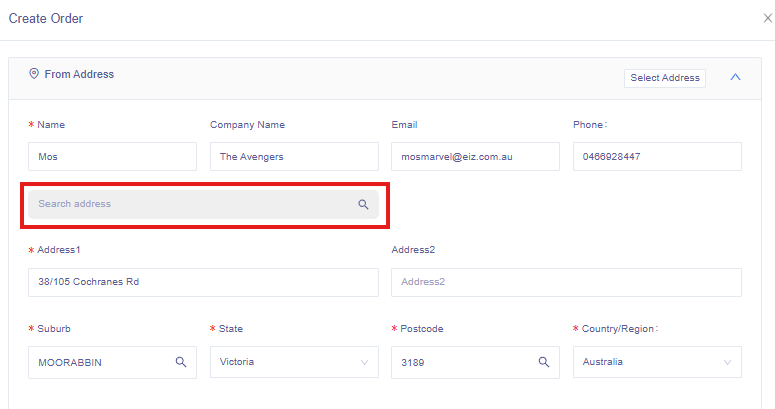
2 – Fill in the Create Order form, starting with the From Address.
This will populate with your default sender address. If you need to update anything here, you can.
You can also use the Search Address bar to lookup addresses and populate the address fields.
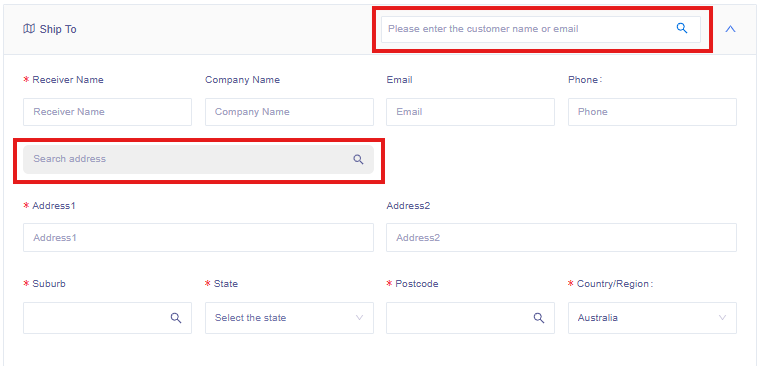
3 – Fill in the Ship To section.
Use the Customer Search bar to find customer details in the address book or use the Search Address bar to find an address to populate the address fields.
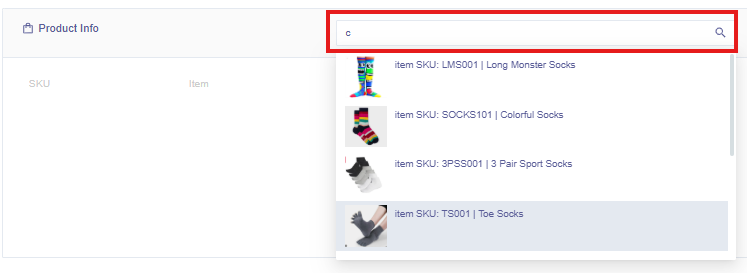
4 – Select your product.
Use the Product Search to locate and select the product to add to the order.
5 – Enter in the Package Info.
Click the Use Product Package link to populate the package info fields if you have saved these in the Listing section or, select a pre-set package from the Consignment drop down if you have created any.
Otherwise just enter in the details manually.
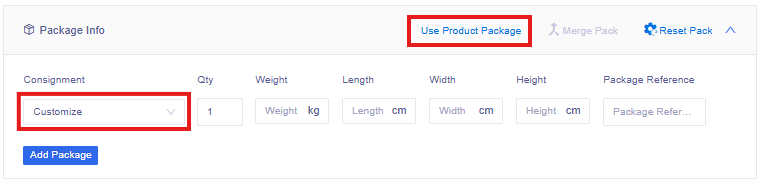
You can also add more packages by clicking the Add Package button or increasing the Qty field if you require it.
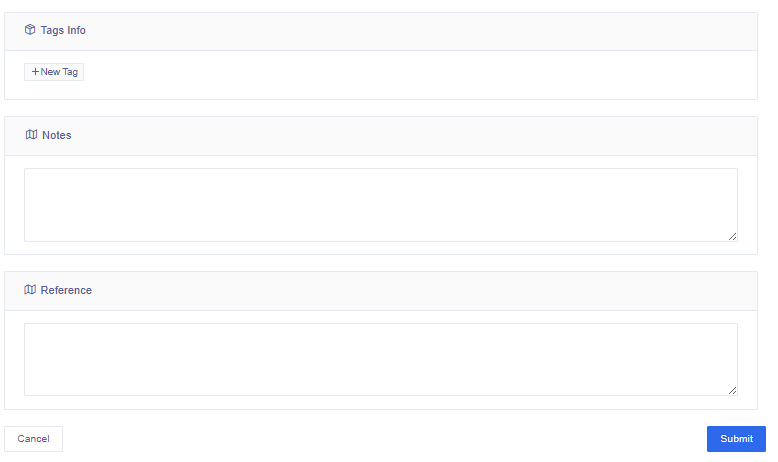
6 – Enter in any other information you require such as Tags, Notes or a Reference, then click the Submit button.
Your order will be displayed in the New Orders section for you to process as normal.
Import Order #
Use this feature if you have multiple orders either on a spreadsheet or if you can export your orders from your sales channel.
To import orders, do the following:
1 – Hover your mouse over the down arrow next to the Create Order button to select the Import Order option.
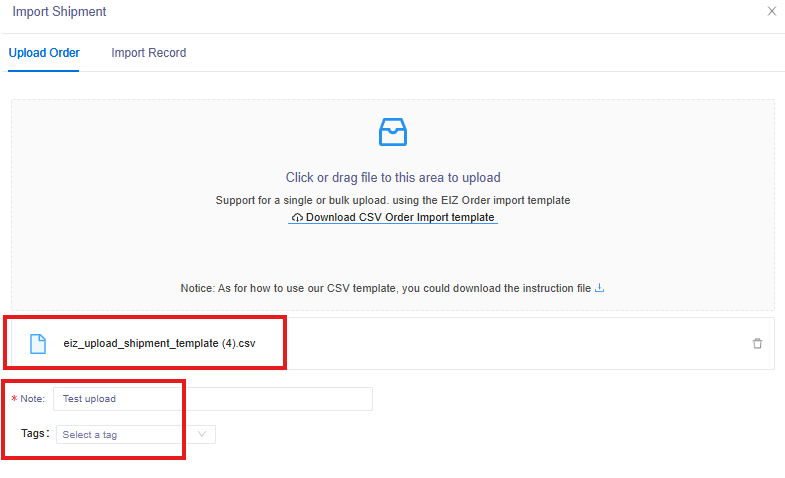
2 – Download the CSV file template to ensure you have the correct column headers, and to see examples of how to fill in the template.
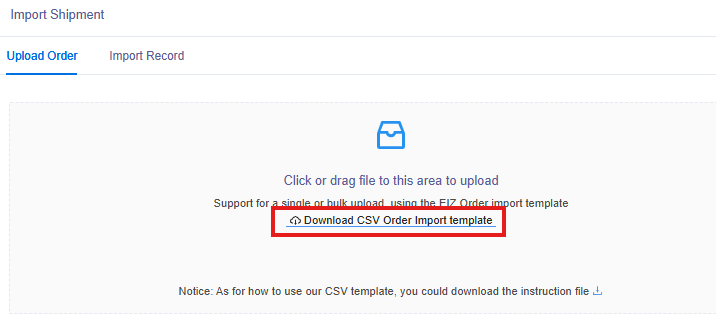
3 – Import the file once you are ready. Return back to the Import Shipment window and click into the grey area to locate your file to import.
The file will be displayed, enter in a note to describe what you’re importing and add any tags if required. The tag will be applied to all the orders when created in Shipmarvel.
Click the Confirm button when ready.
4 – An Import Record will be shown to summarize what you have imported.
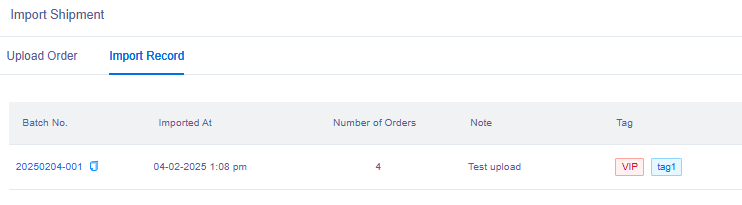
Your imported orders will now be available in the New Orders section to be processed as normal.


