To begin your journey with Shipmarvel, we have provided our self-onboarding tool to help you through some basic setup requirements.
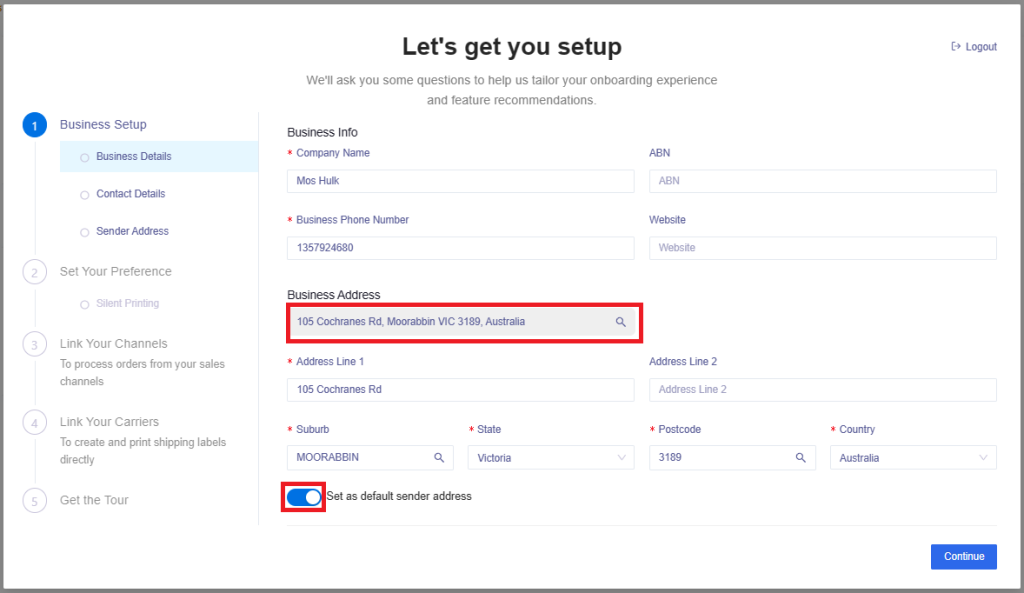
STEP 1: Enter in your business details, then click Continue:
Tips:
1. A red * indicates a mandatory field.
2. Use the Business Address search field to populate your address.
3. Click the toggle button to set your business address as the default sender address.
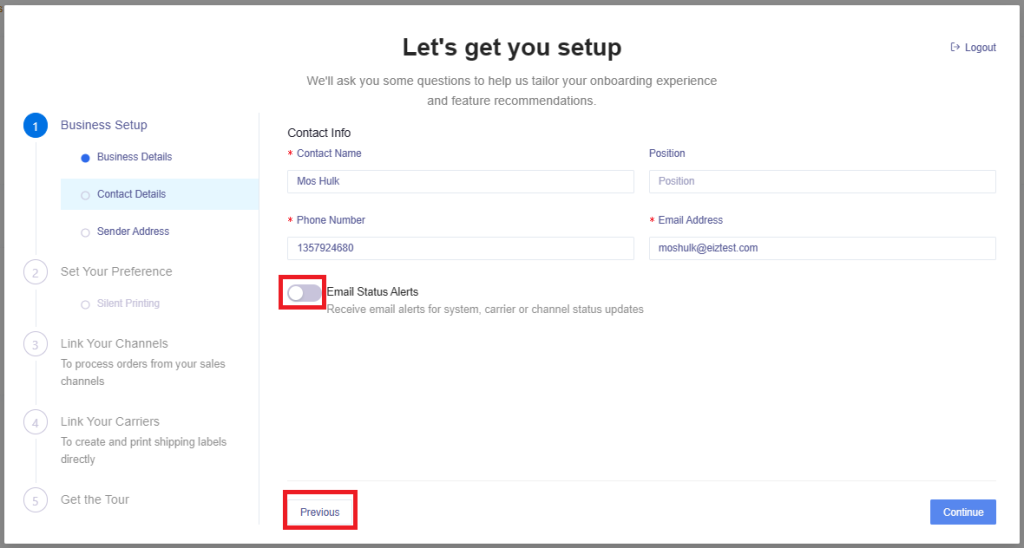
Once you’ve completed your business details, confirm your contact information and click Continue:
Tips:
1. Toggle the Email Status Alerts button if you wish to receive email alerts from the system.
2. Use the Previous button to return to the previous section.
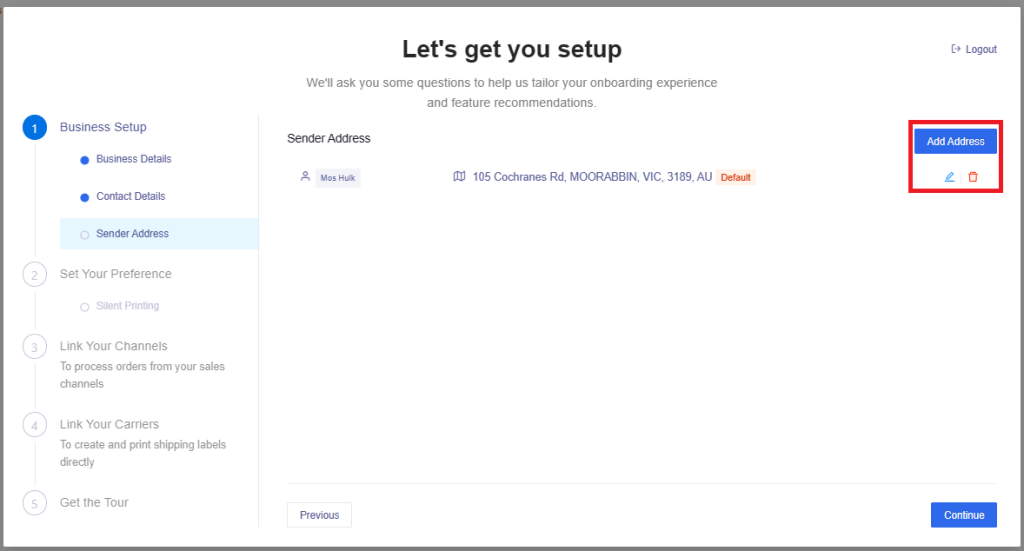
Next, confirm your sender address details and click Continue.
Tip: You can add, edit or delete the sender address by using the icons indicated in red below.
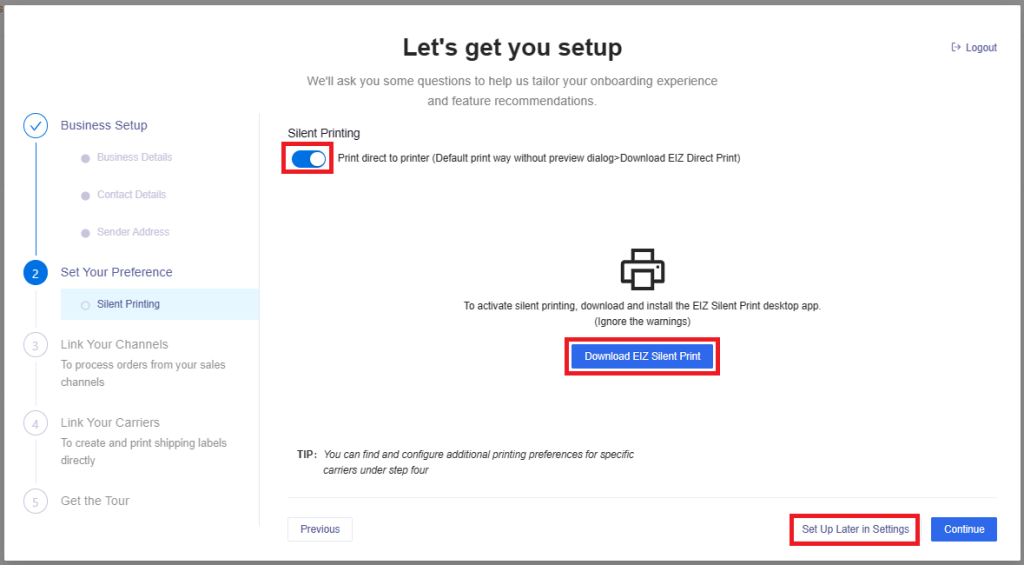
STEP 2: Silent Printing allows you to print directly to your printer from our system without having to view an online pdf version. You’ll first need to download the file and install it on your computer by clicking on the Download EIZ Silent Print button:
Tips:
1. Silent Printing is on by default as indicated below. You can click on this to turn it off and setup it up later.
2. You can bypass this step by clicking on the Set Up Later in Settings button indicated below in red.
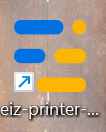
If you’ve decided to download and install the silent print file, after you have completed the installation of the file, you should see this icon appear on your desktop:
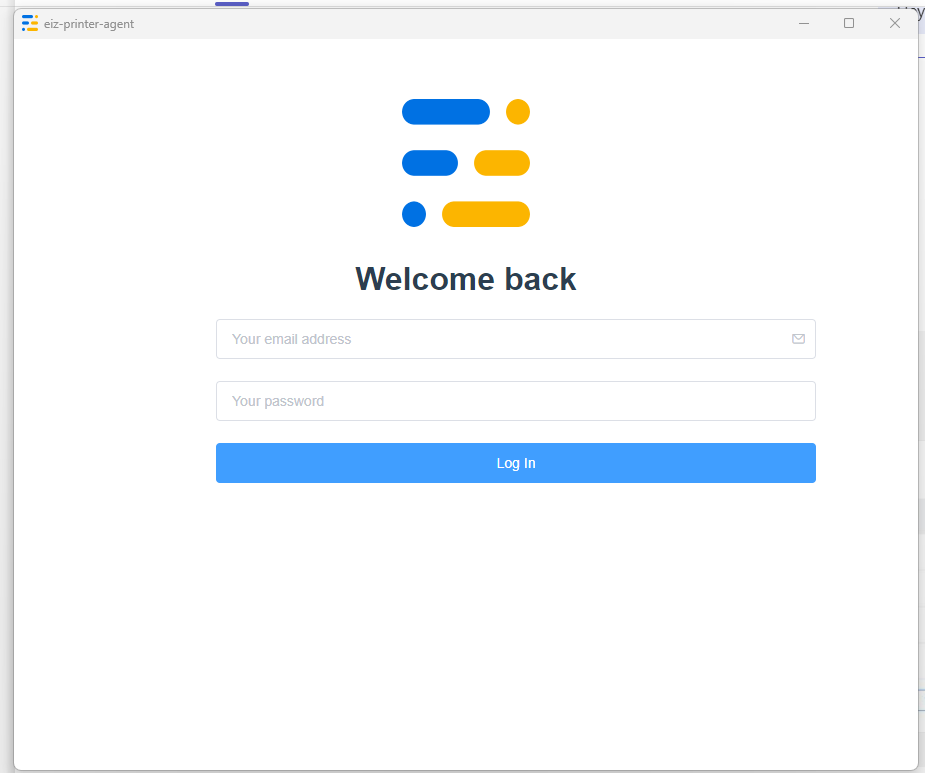
Click into the icon above, then enter in your Shipmarvel login details at this screen, and click Log in:
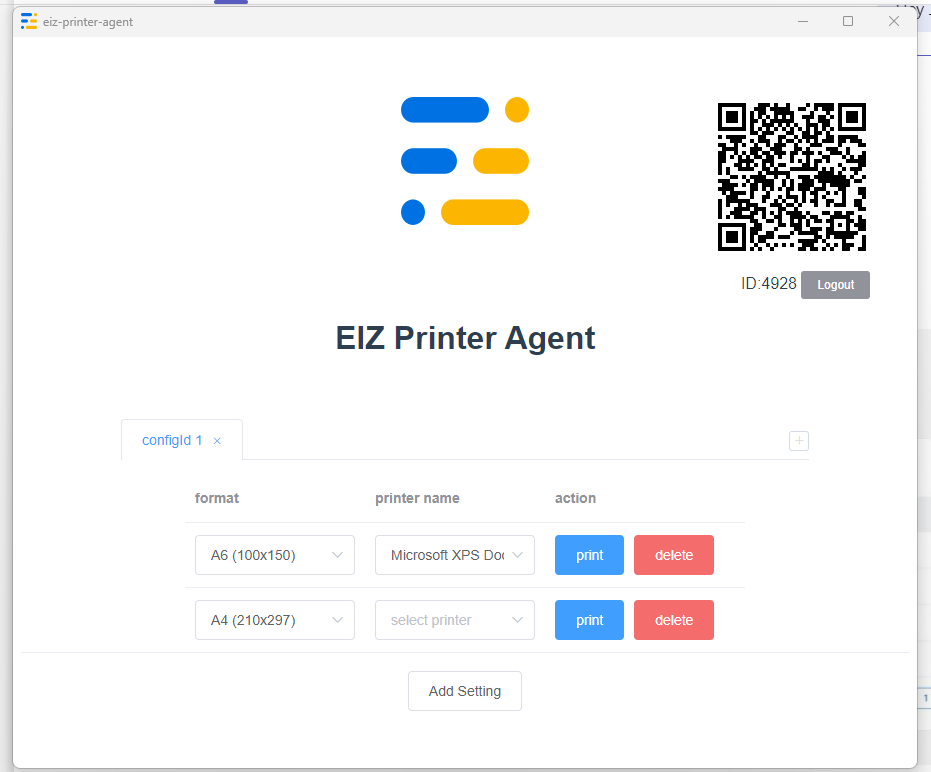
Our app will pick up the printers available on your network. You can then select the printer under the Printer Name drop down list and select the paper size under the Format drop down list. Close this window and return to the self-onboarding wizard:
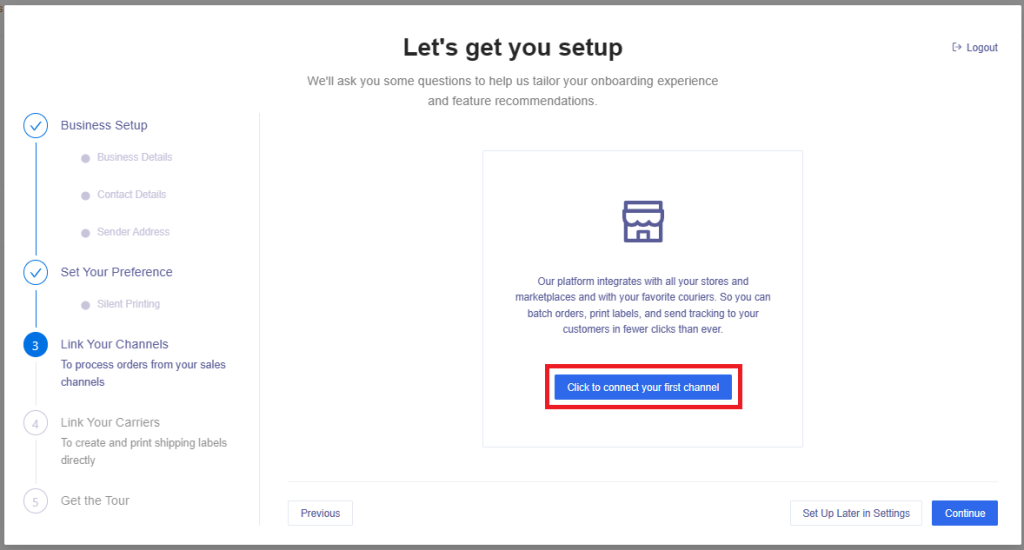
STEP 3: Click on the button indicated below in red to connect your first sales channel. The instructions on how to integrate your sales channels can be found by clicking here: Integrations – Once you’ve connected your sales channels, click Continue:
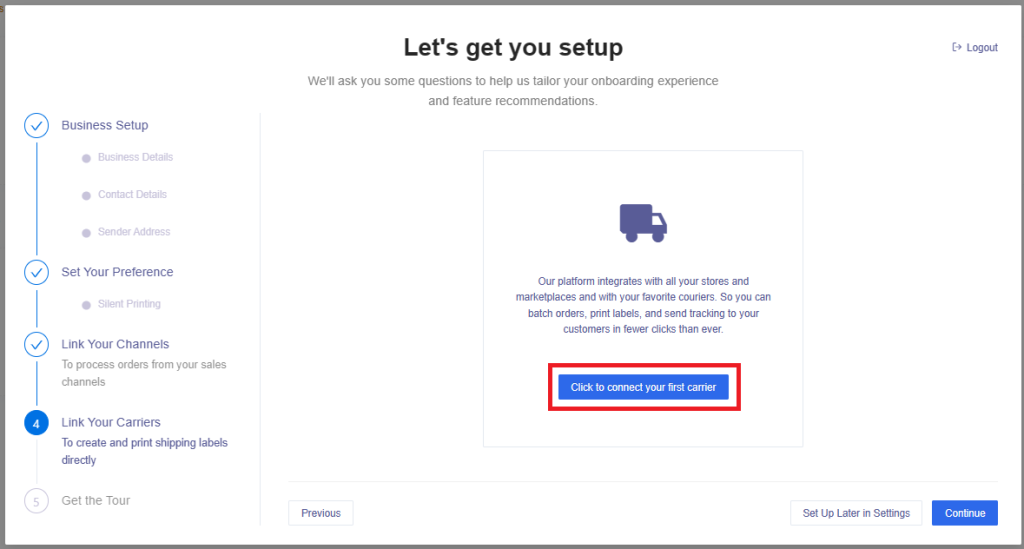
STEP 4: Click on the button indicated below in red to connect your first carrier. The instructions on how to integrate your carriers can be found by clicking here: Integrations – Once you’ve connected your carriers, click Continue:
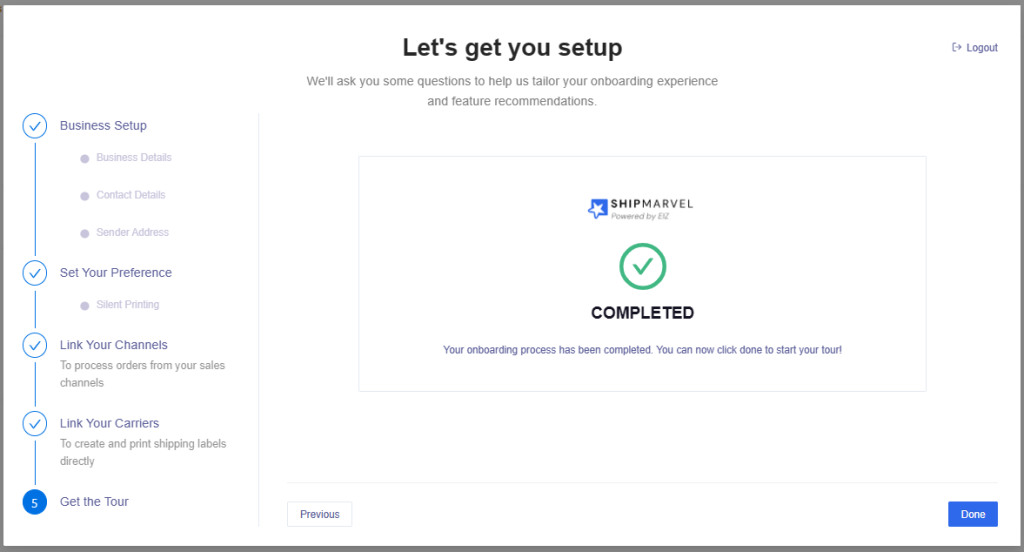
You’ve now completed your onboarding process, click Done and you can now begin to use Shipmarvel.
Important Tip:
We encourage you to go to Listings and update your package information (weight & dimensions) as this is the most common error to begin with. Having this information will make processing of your orders more efficient as you’ll find out when fulfilling your orders.
Please contact our support team if you have any questions or concerns with your self-onboarding experience.
Support Hours: Monday to Friday – 9am to 5.30pm
Phone: +61 3 8595 3046
Email: support@eiz.com.au


