Below is a step-by-step guide to downloading and installing the Printer-Agent software for Mac users.
Download the Software #
1.Open your web browser (Safari, Chrome, Firefox, etc.).
2. Select the appropriate link for your Mac chip architecture:
3. The browser will automatically download/extract a .dmg file, which is a common format for application installers on Mac.
4. The file will be saved to your default “Downloads” folder or another folder you have specified
Install the Software #
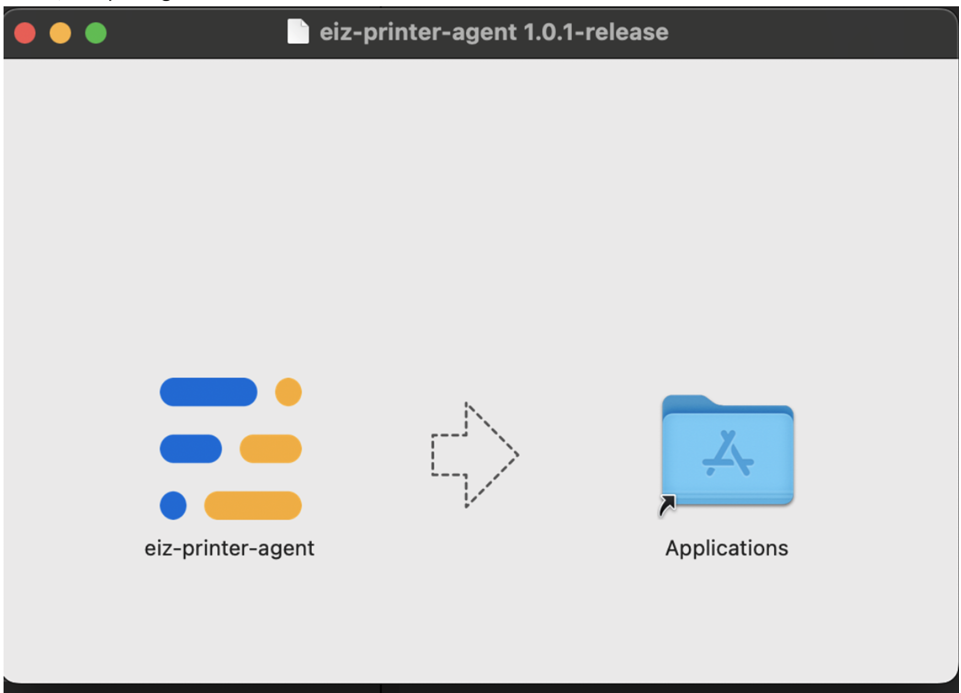
- Double-click the downloaded .dmg file. The system will mount the file and display a new window on
the desktop or in Finder, usually containing an application icon and a shortcut to the Applications
folder. - Drag the application icon to the Applications folder. This step copies the software to your
Applications folder, completing the installation.
Run the Software #
- Open Finder and navigate to the “Applications” folder.
- Locate the installed software and double-click the icon to launch it.
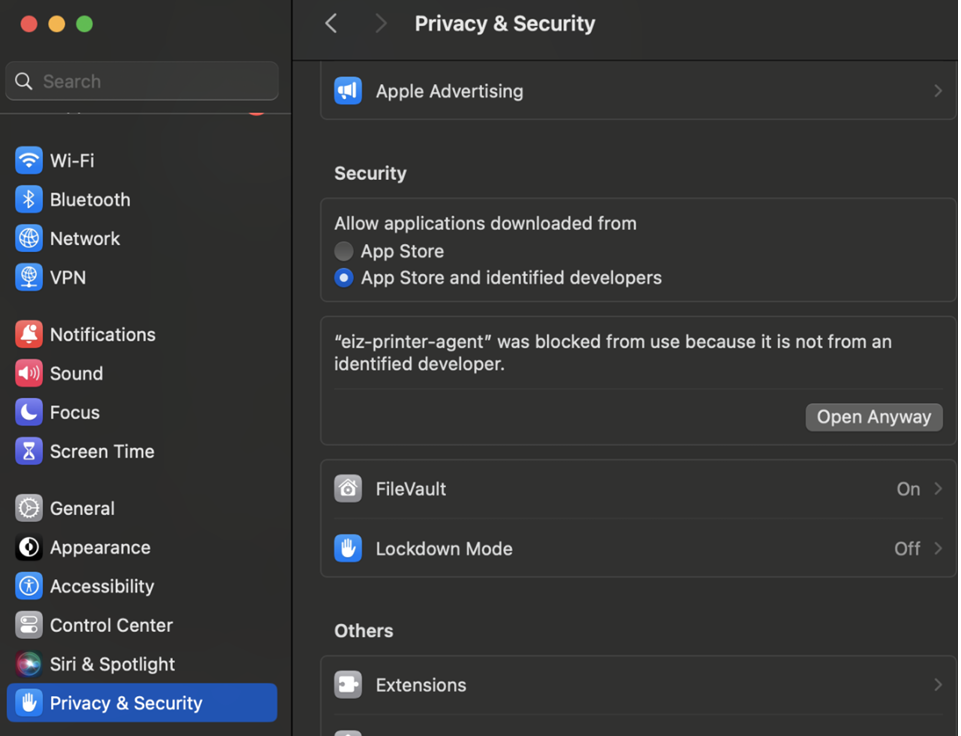
- If you receive a prompt stating, “eiz-printer-agent cannot be opened because the developer cannot
be verified,” go to System Settings > Privacy & Security, and select “Open Anyway.”
4. Once successful, you should see the following screen:
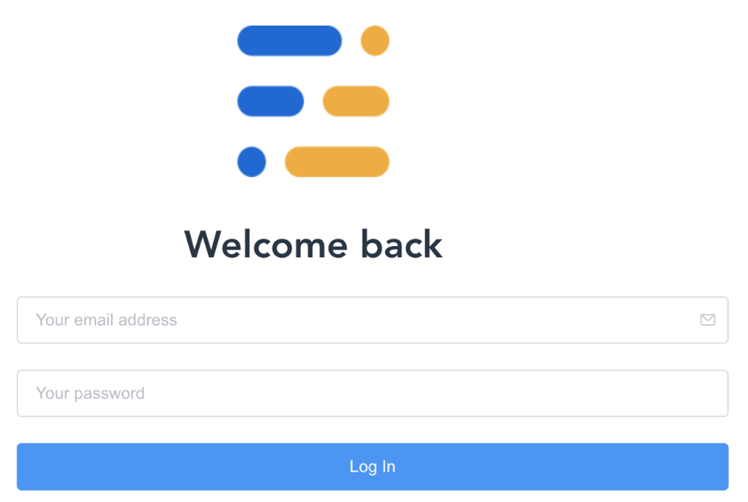
5. Enter your username and password to log in.
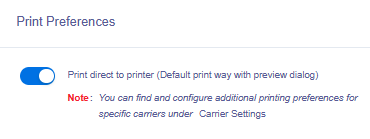
6. Configure the format and printer name to begin using the software.

Congratulations! You have successfully installed the software. Go back to your EIZ account and ensure that the icon indicated below is blue which you can find to the top right corner of your account:

If it’s not blue, click on it and click the toggle button to activate the Printer Agent:
If you encounter any issues during the installation process, please contact our tech support team on 03 8595 3046 or via email – support@eiz.com.au


