To integrate CIN7 Core to Lofko, you’ll first need to obtain your CIN7 Core Account ID and Key by following the steps below:
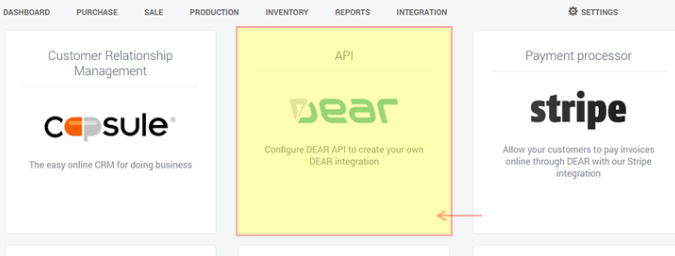
1. Log into CIN7 Core.
2. Go to Integration > DEAR API.
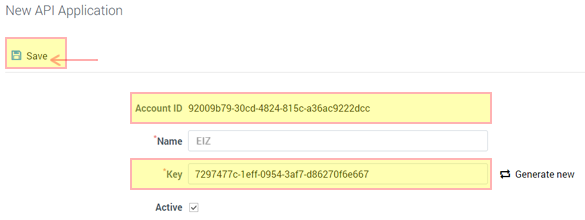
3. Create a new API application.
4. Save the new API application and note down the Account ID, Name and the Key.
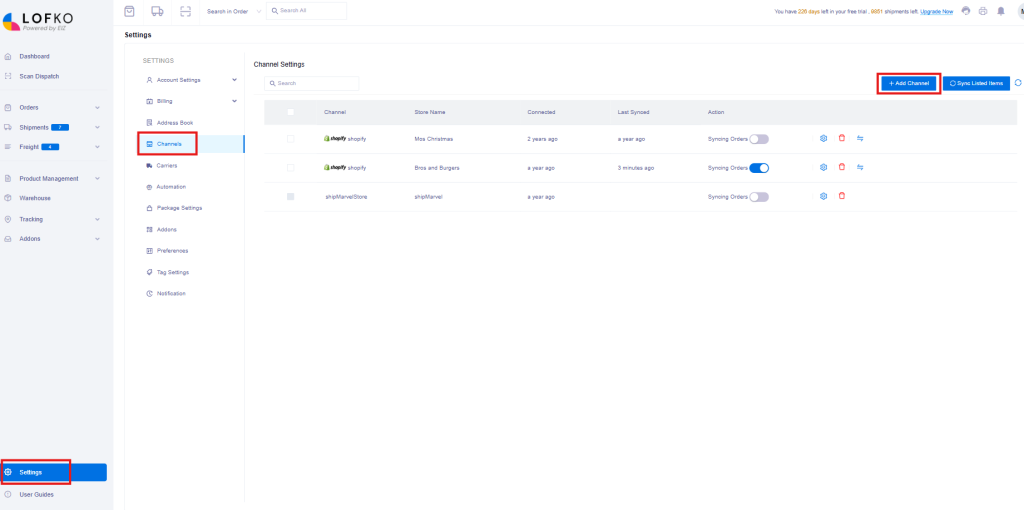
Now that you have your CIN7 Core details, follow these steps to integrate into Lofko:
1. Login to Lofko > Settings > Channels > click the Add Channels button:
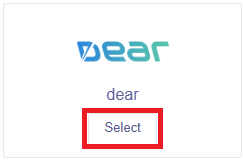
2. Locate the Dear icon and click Select:
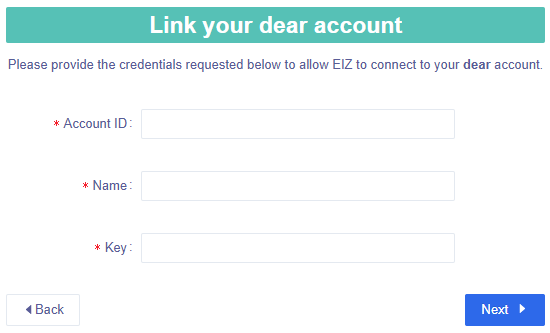
3. Enter in your Dear details and click Next:
Once you have successfully integrated Dear, go back to the Channel Settings section in Lofko and you should now see your Dear integration added – ensure that the Syncing Orders toggle is turned on to allow your orders to start syncing through.


