How to get API information from Neto #
1 – Log into your Neto account
2 – On the left side menu, click Settings & Tools > Staff users
3 – On the Staff Users page, click Add new staff user on the top right corner
4 – On the Add New User panel:
* Enter a Username (e.g. EIZ).
* Enter the user’s first name.
* Enter the user’s last name.
* Enter the user’s email address.
* For Password, click Set random password.
* For API Key, click Regenerate.
* For User Permission Group, click the arrow and then select API User on the drop-down menu.
* Click Save & Close.
5 – Be sure to copy the following information to be used in the integration:
* Username (copy from the Add New User panel)
* API Key (copy from the Add New User panel)
* Neto store URL – To locate your Neto store URL:
5.1 – Open the Neto dashboard.
5.2 – Locate the Username in the top right corner of the main menu.
5.3 – Click the Username. A drop-down menu opens.
5.4 – Click View Webstore. Your store opens in a new tab.
5.5 – Copy the store URL in the browser.
How to Integrate Neto #
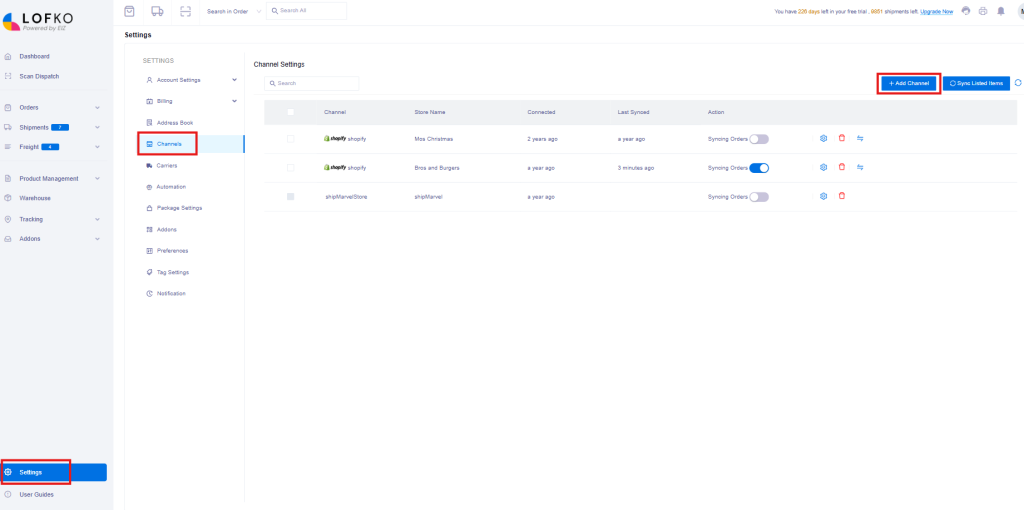
Log in to Lofko > Settings > Channels > click the Add Channel button:
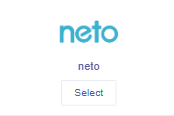
Locate the Neto icon and click Select:
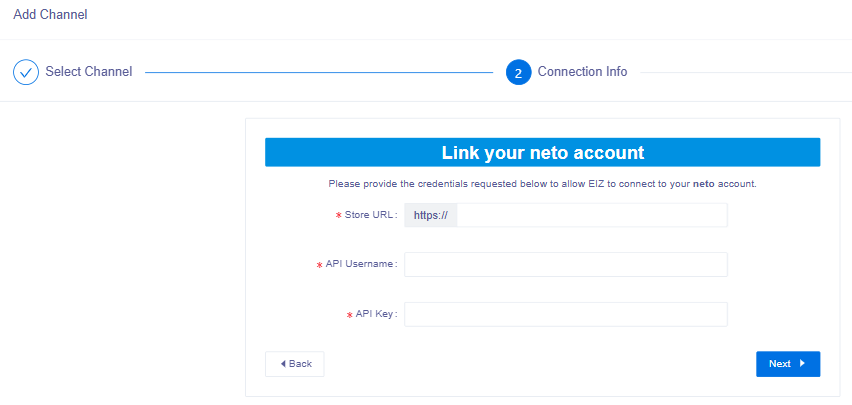
Enter in the Store URL, API Username and key that you retrieved in the above instructions, then click Next:
Once your store is validated, return back to the Channel Settings section in Lofko and ensure the Syncing Orders toggle is turned on for your Neto store to start syncing your orders into Lofko.


