In order to integrate your PrestaShop with EIZ, you’ll first need to generate a Webservice Key from within your PrestaShop account. You will need to copy this key so it can be used later in EIZ to complete the connection.
How to generate a Webservice Key in PrestaShop #
PLEASE NOTE: This information may be outdated. Please contact PrestaShop support if what you see in your PrestaShop account differs from these steps.
1. Go to the PrestaShop control panel, click Advanced Parameters and select Webservice, then click Add new webservice key
2. In the Webservice key setting page, tick all permissions using the select all checkboxes for each column, then click the Generate button above. You will see your PrestaShop Webservice Key appear in the Key field.
3. Copy this Key, it will be used later in the integration.
4. Click Save.
How to integrate PrestaShop #
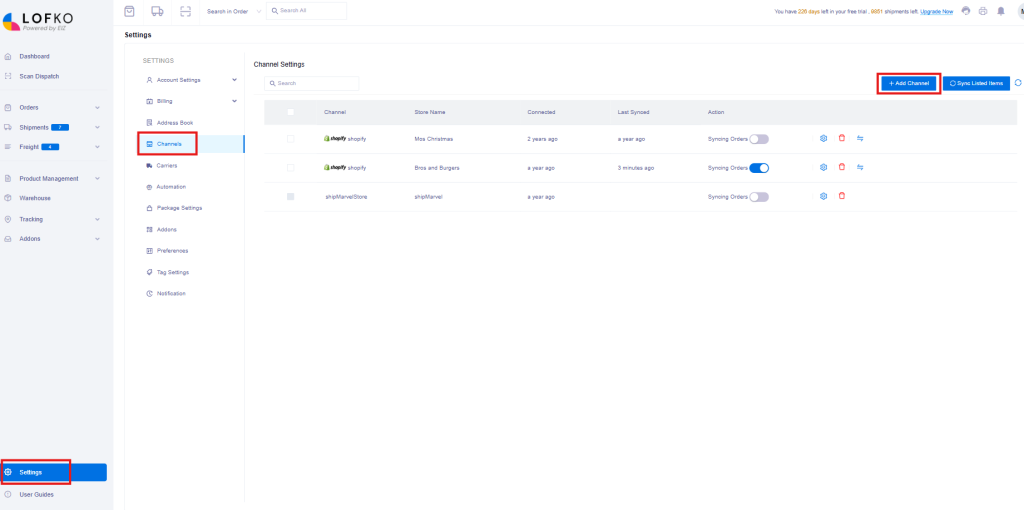
Login to Lofko > Settings > Channels > click the Add Channel button:
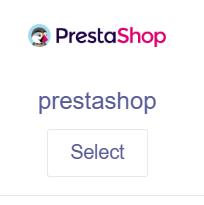
Locate the PrestaShop icon and click Select:
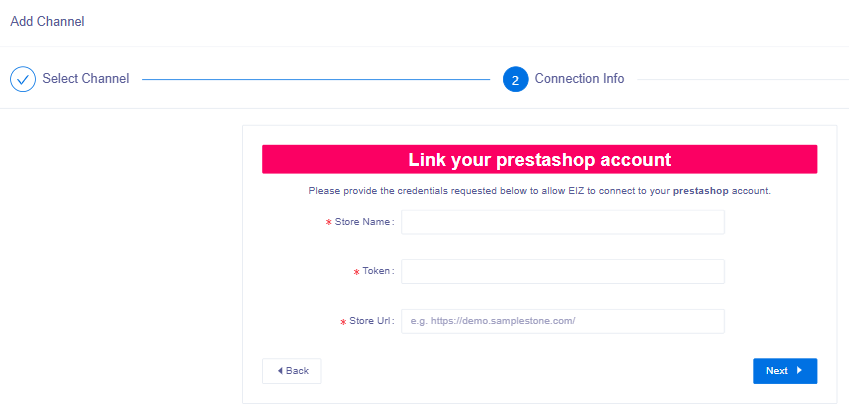
Enter in your Store Name, Token (Webservice Key) and Store URL, then click Next:
Once your store is validated, return back to the Channel Settings section in Lofko and ensure the Syncing Orders toggle is turned on for your PrestaShop to start syncing your orders into Lofko.


