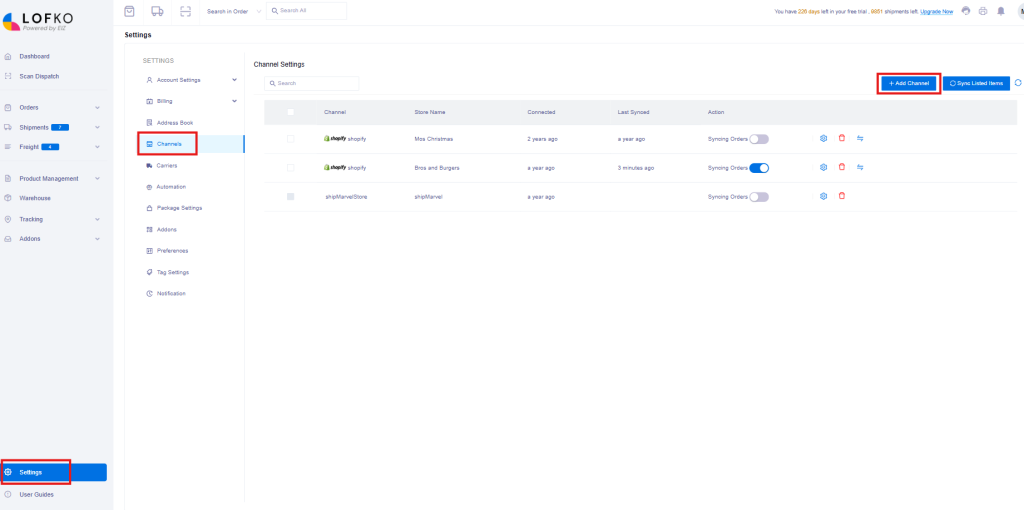
From the left panel menu, click Settings > Channels > Add Channel:
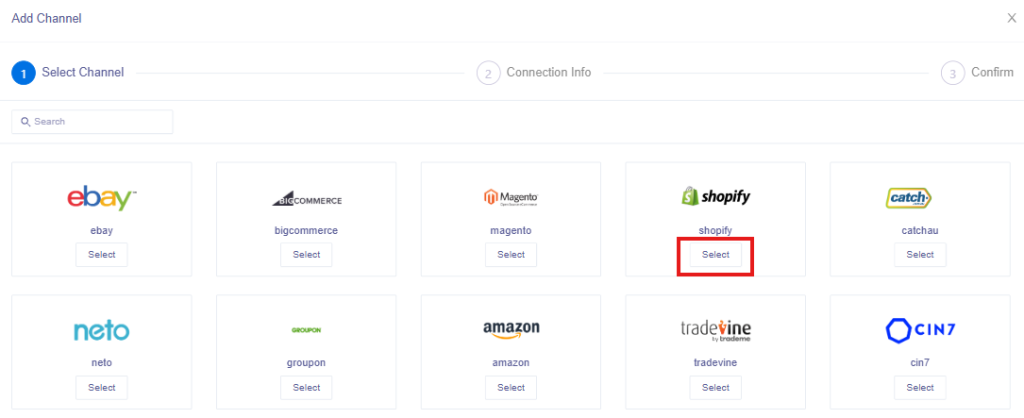
From the Add Channel pop out window, locate the Shopify icon and click Select:
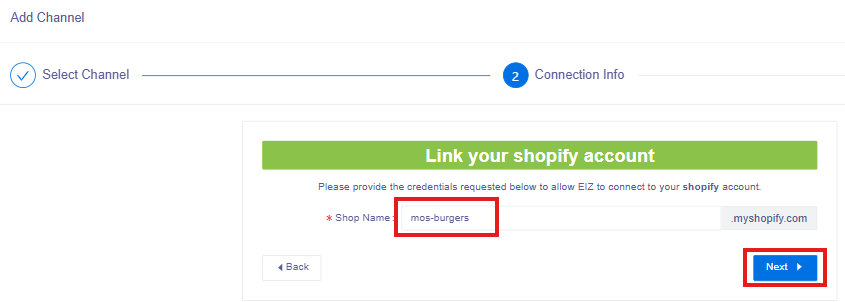
Enter in your Shop Name, then click Next – if you have multiple words in your shop name, use hyphens to replace the spaces as shown below:
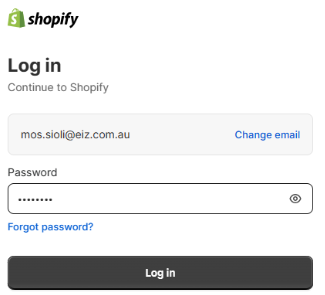
Login to your Shopify account:
Your Shopify account will begin to authorize your store to link to EIZ:
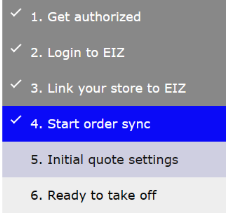
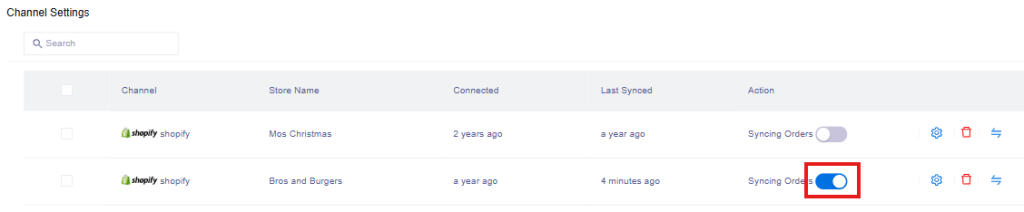
Once authorization is complete, you will be redirected back to the Channel Settings section in Lofko showing your Shopify store – ensure that the blue toggle button is turned on to start syncing your orders: